Español | English

12 Tips for Metric Photography of Architectural and Archaeological Cultural Heritage to extract 2D/3D/4D measurements

It is possible to generate from conventional (non-metric digital, analogue, reflex, compact, semi-professional and/or professional) and photogrammetric cameras metric documents in archaeological works, as well as in architecture, palaeontology, industry, geology, medicine, etc. photographs. Output products such as 2D rectifications, 2D orthophotos/orthoimages, 2D/3D measurements of punctual and linear features, areas and volumes, colour point clouds, 3D models and photorealistic 3D models can be delivered. If the photographs are acquired over time, it will be possible to carry out monitoring and 4D analysis. Keep in mind the following 12 basic tips:

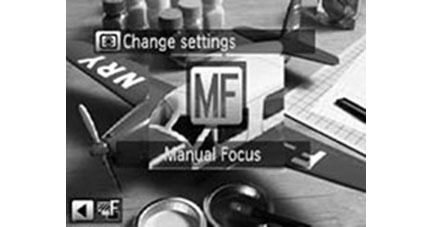
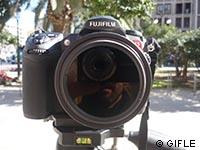
Keep fixed the focal distance, do not change the zoom and switch off the autofocus. Focus to your target and try to keep the focus to work with it as much as possible without changing the parameters. Whenever you need different focus, try to shoot sequentially without interchanging the principal distance.

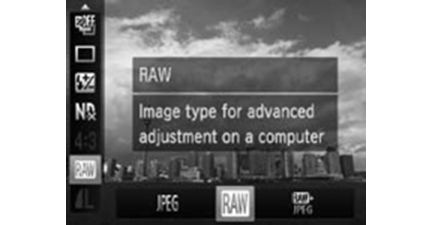
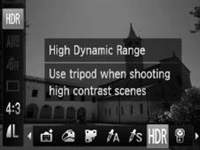
Work always in RAW mode. With raw image files you will be able to develop your picture preserving maximum information.

Maximize the depth of field. If your f-number goes up (minimize your diaphragm), your images will be focus from short up to infinity. Take advantage of the hyperfocal distance.

Take multiple imagery, preferably stereo-pairs (normal shoot to the object) and some convergent photophaps (also in stereo). Two images are the minimum to reconstruct whatever part of an object, but three pictures are better than two. Turn 90 degrees your camera and shoot also your object. Following this way, you will be able to calibrate your camera afterwards if necessary.

Add contextual pictures of the surroundings,to allow users the visualization of the site, from different points of view. Panoramic images are ideal for that purpose.

Add some metric reference, such as either a ranging rod or a tape to fix the scale. Better if you can shoot levelled to fix the vertical line. Ideally include surveying control points well-distributed in 3D across the site.

Set the minimum ISO number that allows your camera. Try to avoid high ISO. Therefore, it is recommended that you consider your tripod to take long exposures.

Remind sketching your shoots and try to shoot it at the end of your activity. You will always remember your station point and the direction of the shoot. It would be much better whether you can georeference (geotag) your image with a GNSS (GPS, GLONASS…) device.

The more homogeneous the light, the better. It would be easier to get continuous plotting of the final work. Better early in the morning or late in the evening. Take advantage of the cloudy days. If it is not possible, then take shoots with a wide range of exposure times and generate your own high dynamic range (HDR) images.

Include a colour chart in order to reproduce accurately the colour. There is a diverse gamut of colour charts depending on the size and the chromatic range. If you do not have a colour chart, try to add a white pattern.

Metadata. Please include the necessary data to make your dataset useful for others, for instance, the name of the site, the date of the pictures, the name of the photographer, the client name, the name of the camera, the lens, number of imagery, etc. Do not forget the camera calibration certificate if your camera is calibrated. With related information, it will always be possible to record and reuse the provided information.

Do not forget your accessories. Be ready to carry all your accessories with you such as a polarized UV filter, a tripod, a panoramic head, a remote shutter, a set of lenses, a torch and a colour chart.